Samsung RS21KPSM Side-by-Side refrigerator not cooling (not it-related)
- 3 minutes read - 543 wordsBy way of exception, this post is not it-related. Since I have struggled to find some information on the web, I think this still could be interesting for some folks out there.
A couple of days ago my wife noticed that our refrigerator is quite warm inside and it does not get to the specified temperature anymore. As you can see on the following photo is was quite hot inside:

I wasted a couple of hours trying to find some helpful information on what could be the cause of this inconvenient situation. But, as you can imagine most of the information available did not shed much light on the darkness (i.e. did you plug in the electric cable, did you check the fridge temp, etc.).
It was until I found a link to document named SAM0074.pdf that encouraged me to move on. This document is not quite specifically related to my version of the fridge, but the panel looked quite similar so I decided to run the self-diagnostic test described on page 29. By pressing on Power Freeze and Power Cool buttons simultaneously for 8 seconds the device initiates a self-diagnostic test and displays a possible cause of an error (if applicable) by illuminating only specific LED segments. On page 30 you will then find a check list of error items related to the LED display. In my case, it indicated that there is some error with the refrigerator fan (the LED highlighted in the figure below was the only LED segment illuminated).

So, what did I do in order to get this thing fixed. Just follow the steps below to disassemble the fridge if you struggle with a similar case:
- remove the power plug (it’s always good to stay safe ;-))
- open the fridge door (just to be sure)
- remove all compartments (just the quick cool item should be left inside)
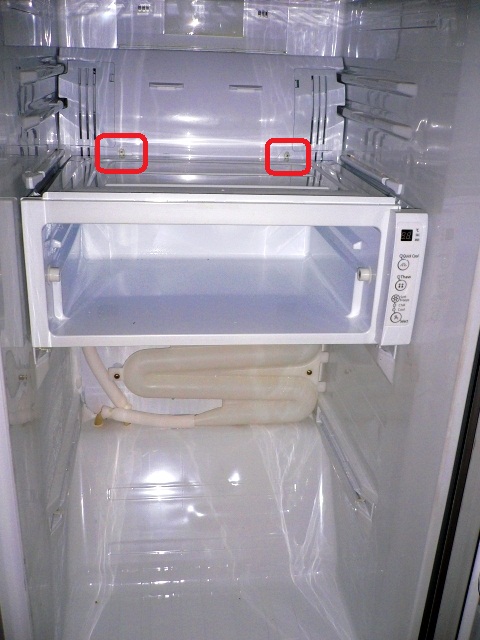
- remove both screws as indicated below:
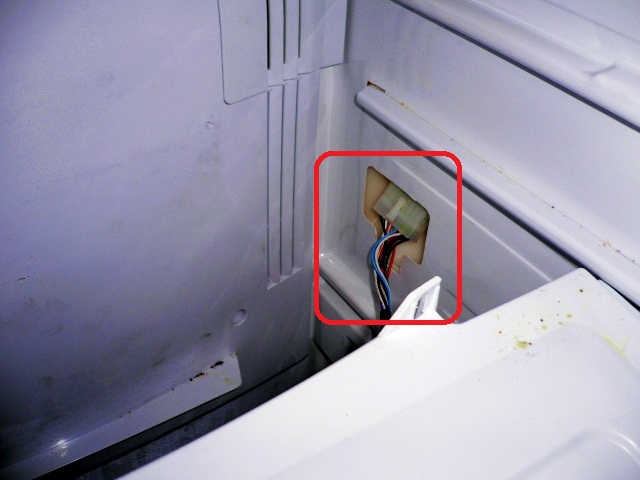
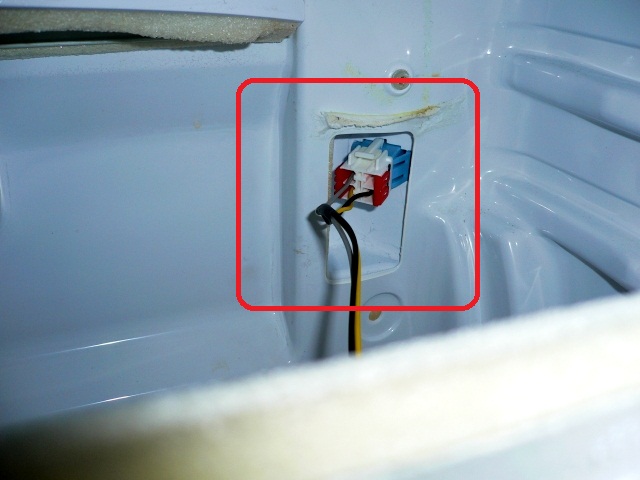
- unplug the quick cool’s cable:
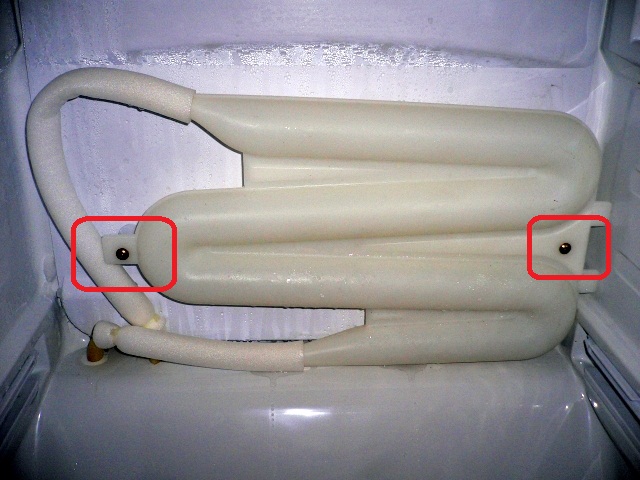
- remove both screws from the water pipe (bottom part of the fridge):
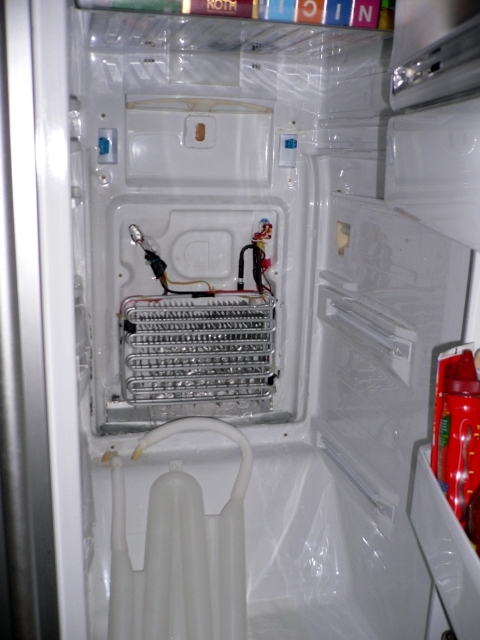
- your fridge should by now look similar to the figure below, go ahead and remove all six screws from the back wall of the fridge:

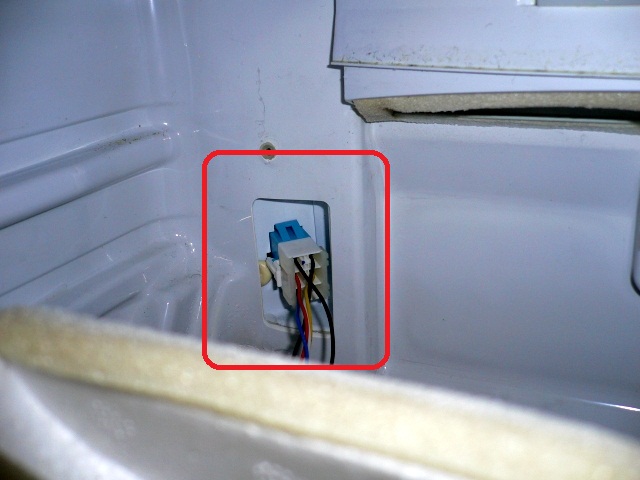
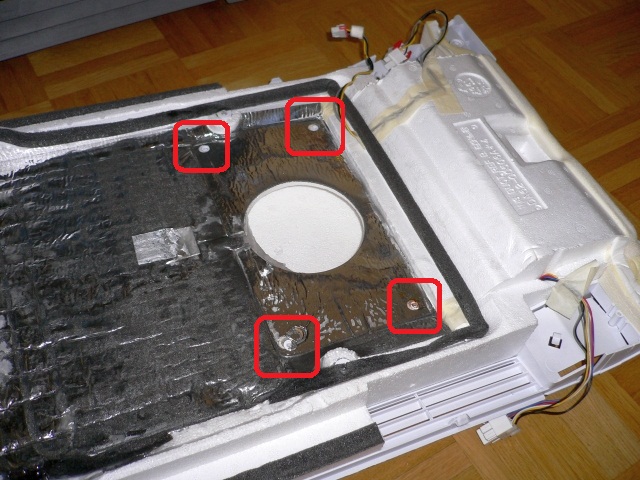
- after removing all screws, be careful when trying to lift the back wall, it might very well be frosted and glued to the back of the fridge. Go ahead and unplug two cable jacks … one on the top left and one on the top right part of the fridge’s back wall … see below:
- now you can remove the back wall … very carefully though …. you fridge will probably look like this:
- the fan part is attached to the fridge’s back wall with four screws, go ahead and remove them:
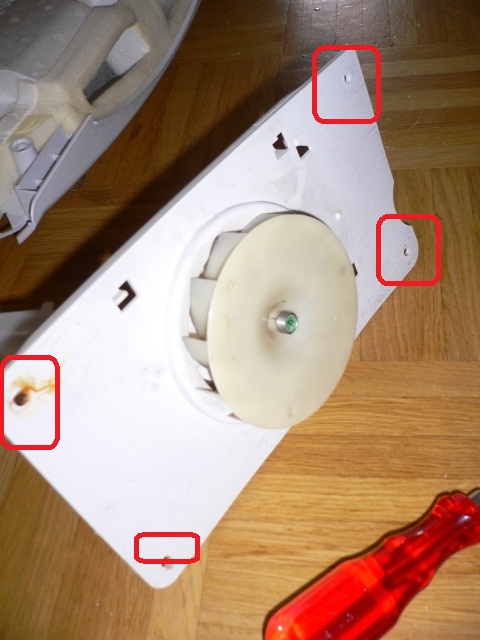
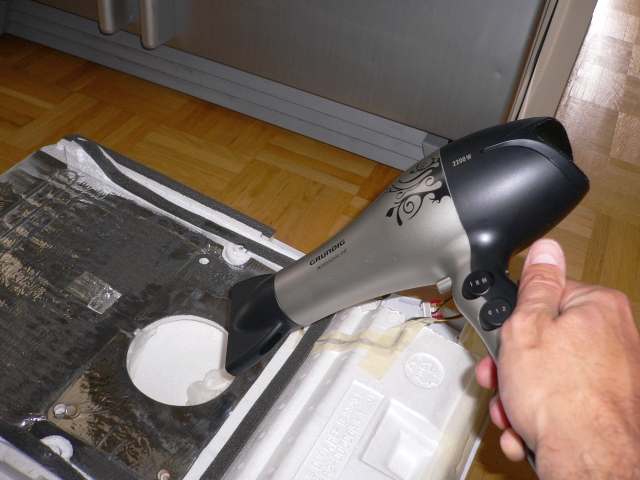
- in my case, the hole for the fan was pretty much iced, so I had to use a hair-dryer to carefully melt and remove the ice
- I unplugged the fan itself and replaced it with a replacement part (i.e. https://www.samsung-ersatzteilevon365.de/kuhl-gefrierschrank-verdampfer-ventilatormotor-newmotech-drep5020lb-321w/product.pl?pid=1227036)
- after this is done, accurately assemble the fridge back again
After all, our fridge is working just fine again. It was quite a nice challenge, although it is no rocket-science. Just proceed really carefully and remember all the steps.
Please do not hesitate to contact me if you have any questions.